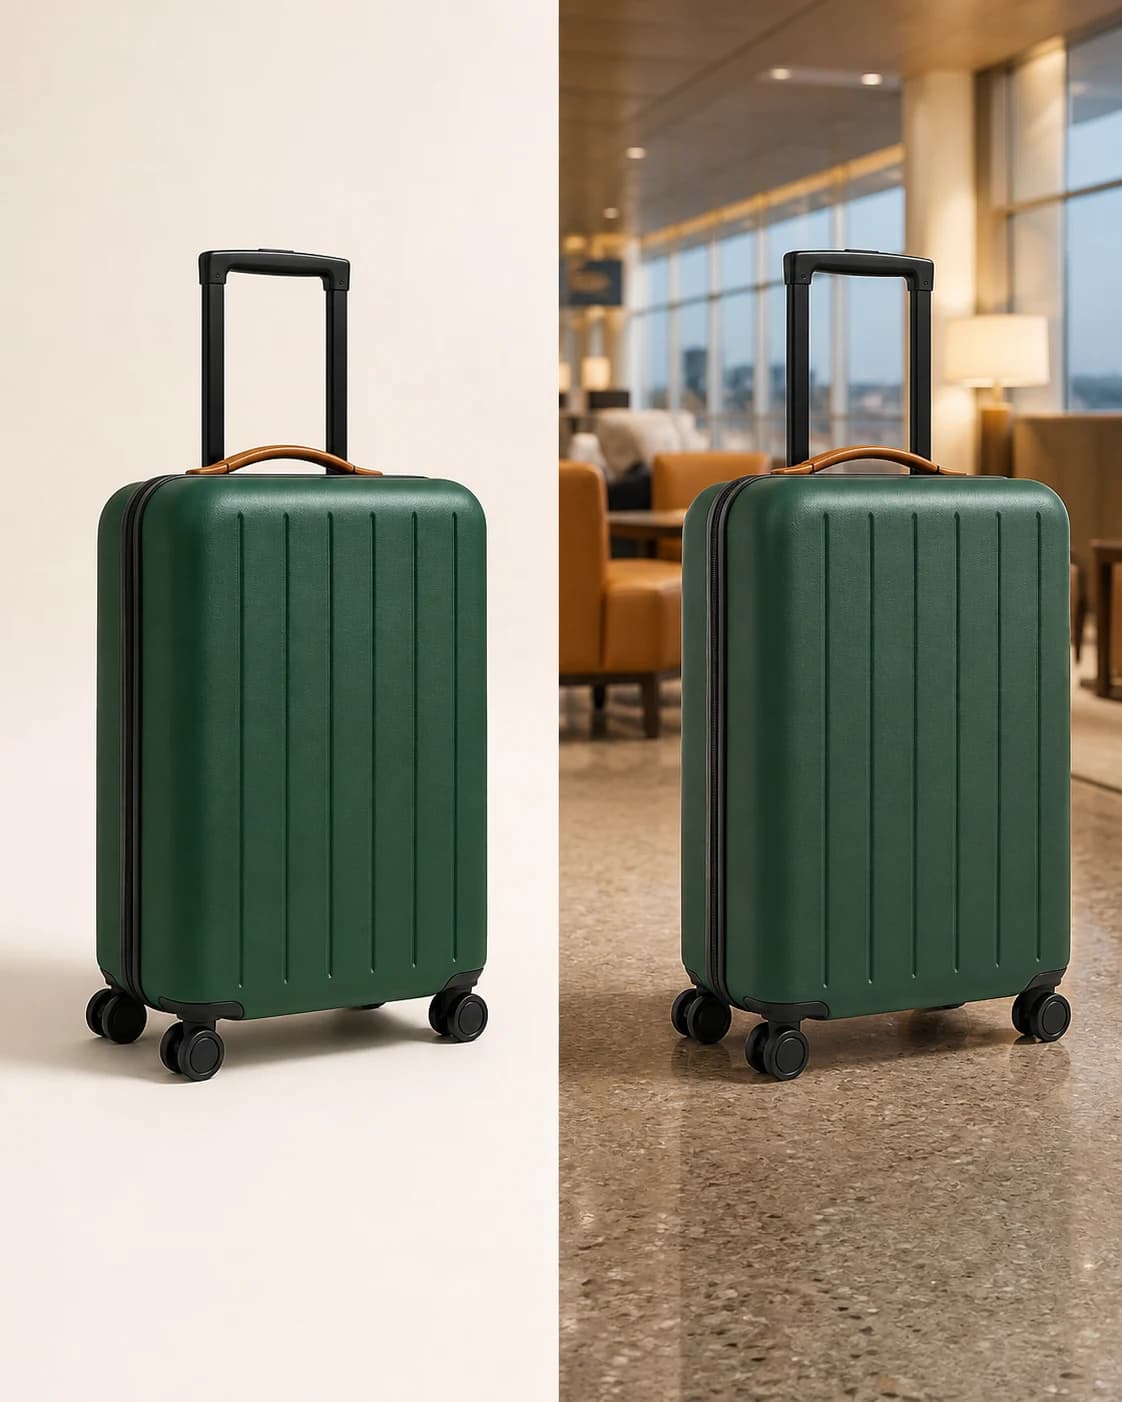
Controlled background replacement
AI Product Background Remover That Keeps the Product Intact
Use an AI product background remover to move one approved product from a clean studio setup into campaign, marketplace, and lifestyle scenes without quietly redesigning the SKU.
01
A cleaner background is not useful if the product changes with it
A conventional cutout can remove pixels around a product, but reflective edges, fine fibers, translucent parts, and contact shadows may be damaged. Generative replacement solves a different problem: it can rebuild lighting and context, yet it may also change a handle, soften a label, alter a color block, or invent a new material. An AI product background remover workflow needs a clear boundary between the approved object and the scene around it. Otherwise the result looks polished while representing a product the customer cannot actually buy.
02
Choose the right AI product background remover route for the risk
Start with an untouched master image and decide what must remain pixel-exact. Use segmentation and compositing when labels, legal copy, transparency, or tiny construction details cannot move. Use reference-led generation when the goal is a believable new location, new lighting, or a different camera treatment and the product can be checked visually. For demanding work, combine both: protect the verified product layer, generate the scene separately, then compose and review the result. CharaSync supports the reference-led part of this process by letting you name the same product and reuse it across controlled scene requests.
Three routes, one decision
How to choose an AI product background remover workflow
Cutout and composite for exact product pixels
For this AI product background remover route, choose a dedicated segmentation tool when the source object itself must not be regenerated. This is the safest route for regulated packaging, readable labels, logos, serial markings, intricate jewelry, transparent glass, wire products, and catalog records used as factual documentation. Export a transparent asset, keep it as the trusted product layer, and place it over an approved background. The tradeoff is that relighting, realistic reflections, and complex contact with the new environment usually need manual finishing.
Reference-led generation for a new visual context
Choose this AI product background remover route when the business need is more than an empty or white background. A product may need to sit on wet stone, appear in an airport lounge, catch sunset light, or fit naturally among styled props. A named object reference gives the model visual evidence for shape, proportion, color relationships, components, and material. The scene can then change around those anchors. This route is efficient for lifestyle concepts and campaign variations, provided every output is compared with the approved source before publication.
A hybrid route for high-value campaign work
A hybrid AI product background remover workflow separates accuracy from atmosphere. Keep a clean, verified cutout or render for the product, then generate a background plate that already contains the desired surface, direction of light, lens feel, and composition. Add the protected product layer and finish its shadow, reflection, color spill, and edge treatment. This takes more work than a single generation, but it reduces the chance that a beautiful environment will introduce an inaccurate product into a paid campaign.
A rejection boundary before anyone starts
Write down what makes the SKU recognizable. Include silhouette, component count, handle or strap placement, openings, seams, color breaks, material finish, label position, and any packaging information that must be exact. Also record what may change: background, supporting props, camera height, crop, light direction, and mood. Review against that boundary, not against a vague feeling that the image is close enough. A strong scene that fails one defining detail is still a rejected product image.
A focused workflow
From reference to repeatable output
- 01
Keep an untouched master
Save the highest-quality approved source before removing or replacing anything. Use a frame with natural perspective, visible edges, accurate color, and enough resolution to inspect small parts at 100%. Avoid compression artifacts, heavy filters, clipped highlights, and existing artificial shadows where possible. If one angle hides a defining feature, add a second reference rather than expecting the model or reviewer to infer it. The master remains the factual comparison for every later version.
- 02
Classify the difficult edges and materials
Inspect the product before choosing a method. Hair-like fibers, fur, mesh, chrome, glass, glossy black plastic, translucent liquid, thin straps, and soft shadows are high-risk areas. A dedicated remover may create halos or erase fine edges; generation may simplify reflections or alter construction. Mark these zones in the review checklist. If they define the item or contain required information, protect them with a cutout or verified render instead of asking generation to reproduce them exactly.
- 03
Name the product and split fixed from flexible details
Save the source as a named object reference, then mention that same name in each request. In the prompt, keep the product brief short and testable: preserve the emerald shell, tan handle, black rails, four wheels, hard-shell proportions, and front-facing orientation. Put the background request in a separate sentence. This gives the AI product background remover a stable object definition while leaving room to design the floor, architecture, props, light, and atmosphere.
- 04
Compare at full size before approving
Place the generated result beside the master and check identity before judging the mood. Trace the silhouette, count components, compare color blocks, inspect logos and labels, and zoom into reflective or transparent areas. Then check whether the new scene behaves physically: the contact shadow should meet the product, reflections should agree with the surface, and light direction should match the background. Record the rejection reason so the next attempt changes one known problem instead of restarting blindly.
Production guide
Turn an AI product background remover into a repeatable system
Prepare a neutral source
An AI product background remover needs a neutral source, though it does not have to be a perfect white-background catalog photo. The image should describe the product without confusing it with surrounding objects. Leave enough room around the outline, keep the item in focus, and avoid hands or props covering its defining construction. Use color-managed exports when exact brand color matters. If the source has a strong colored reflection from its original setting, note that it belongs to the old scene and should not become a permanent feature of the product.
Use risk, not convenience, to choose the method
Choose the AI product background remover method by risk, not convenience. Low-risk objects have simple opaque outlines, large readable components, and materials that are easy to audit. High-risk objects contain tiny text, compliance information, complex transparency, repeated mechanical parts, or appearance claims tied to an exact finish. Use reference-led generation for the first group when a new atmosphere adds value. Keep the second group on a protected layer or replace sensitive areas with official artwork during post-production.
Specify a background that can support the object
Describe the surface, setting, camera position, dominant light, depth of field, and available negative space. A physically plausible request is easier to review than a list of styles. For example, ask for an eye-level airport lounge, matte stone floor, soft window light from the left, restrained depth of field, and clear space above the suitcase. The scene brief should explain where the object belongs and how it is lit, while the reference explains what the object is.
Check contact, shadow, and reflection together
Background replacement often fails at the boundary where product meets scene. A floating object may have a soft shadow that never touches its wheels; a bottle on glossy marble may lack a reflection; a chrome edge may reflect a studio that no longer exists. Check contact first, then shadow density and direction, then local reflections and color spill. These cues do not change the product design, but they determine whether the same product looks genuinely present in the new environment.
Compose for each channel instead of cropping later
Request the final use and aspect ratio at the start. Marketplace squares need a clear silhouette and safe margins. A vertical social placement may need space above for copy and enough floor below to preserve contact. A wide homepage banner often puts the product to one side and reserves calm negative space for a headline. Reusing the same named reference protects identity, but each ratio should be treated as a new composition and reviewed again because extreme framing can hide or distort important features.
Keep an approval record tied to the source
Store the master, named reference, prompt, generated file, final crop, and approval notes under one product identifier. Separate approved, revision, and rejected images. Note whether the result was generated directly, composited from a protected cutout, or finished with official label artwork. This small record prevents an attractive but inaccurate version from becoming the next reference, and it lets another teammate reproduce the scene without guessing which product details were intentionally fixed.
What stays consistent
Protect the details audiences remember
One SKU across multiple settings
Create clean marketplace frames, editorial lifestyle scenes, seasonal campaigns, and website banners around the same approved product reference. The environment can change substantially while the silhouette, components, color relationships, and material cues remain reviewable against one master.
Fewer polished but unusable images
A risk-based route prevents teams from using generation where exact pixels are required and prevents them from forcing a basic cutout to do complex relighting work. Clear rejection criteria make accuracy issues visible before files reach a marketplace, ad account, or client review.
A faster review conversation
Reviewers can separate product truth from scene quality. They first confirm that the object still represents the approved SKU, then assess composition, lighting, and brand fit. Specific notes replace vague feedback, so revisions target the label, edge, contact shadow, or background rather than rebuilding the entire image.
Before you create
Frequently asked questions
Does CharaSync export a transparent PNG cutout?
CharaSync is built for reference-led image generation, not dedicated alpha-matte extraction. If you need a pixel-exact transparent PNG, use a specialized background remover to create and verify the cutout first. You can then keep that layer for compositing or use the approved product image as a CharaSync reference when you need a newly generated scene.
What is the difference between removing and replacing a background?
Removal isolates the foreground and usually exports transparency or a flat color. Replacement puts the product into a new visual context, which may require new light, contact shadows, reflections, perspective, and depth. Segmentation protects original pixels; generation can make the new context more coherent but requires a product-accuracy review.
Which products are highest risk for generative replacement?
Treat regulated labels, medicine and food packaging, readable small text, exact logos, transparent glass, jewelry, chrome, mesh, fine fibers, and products with many repeated parts as high risk. Use a protected cutout, verified render, or official artwork for any element that must be pixel-exact.
How many product references can I use?
CharaSync supports up to four references in one generation. Use only the views that explain defining features the main image does not show. More references are not automatically better; inconsistent lighting, older packaging, or different product variants can introduce conflicting evidence.
Can an AI product background remover make a white marketplace image?
Yes, but choose the simplest reliable route. If you only need a verified product on pure white, a clean cutout and controlled shadow may be safer. Use reference-led generation when you also need a new camera treatment, softer studio lighting, or a family of related scenes, then compare every result with the master.
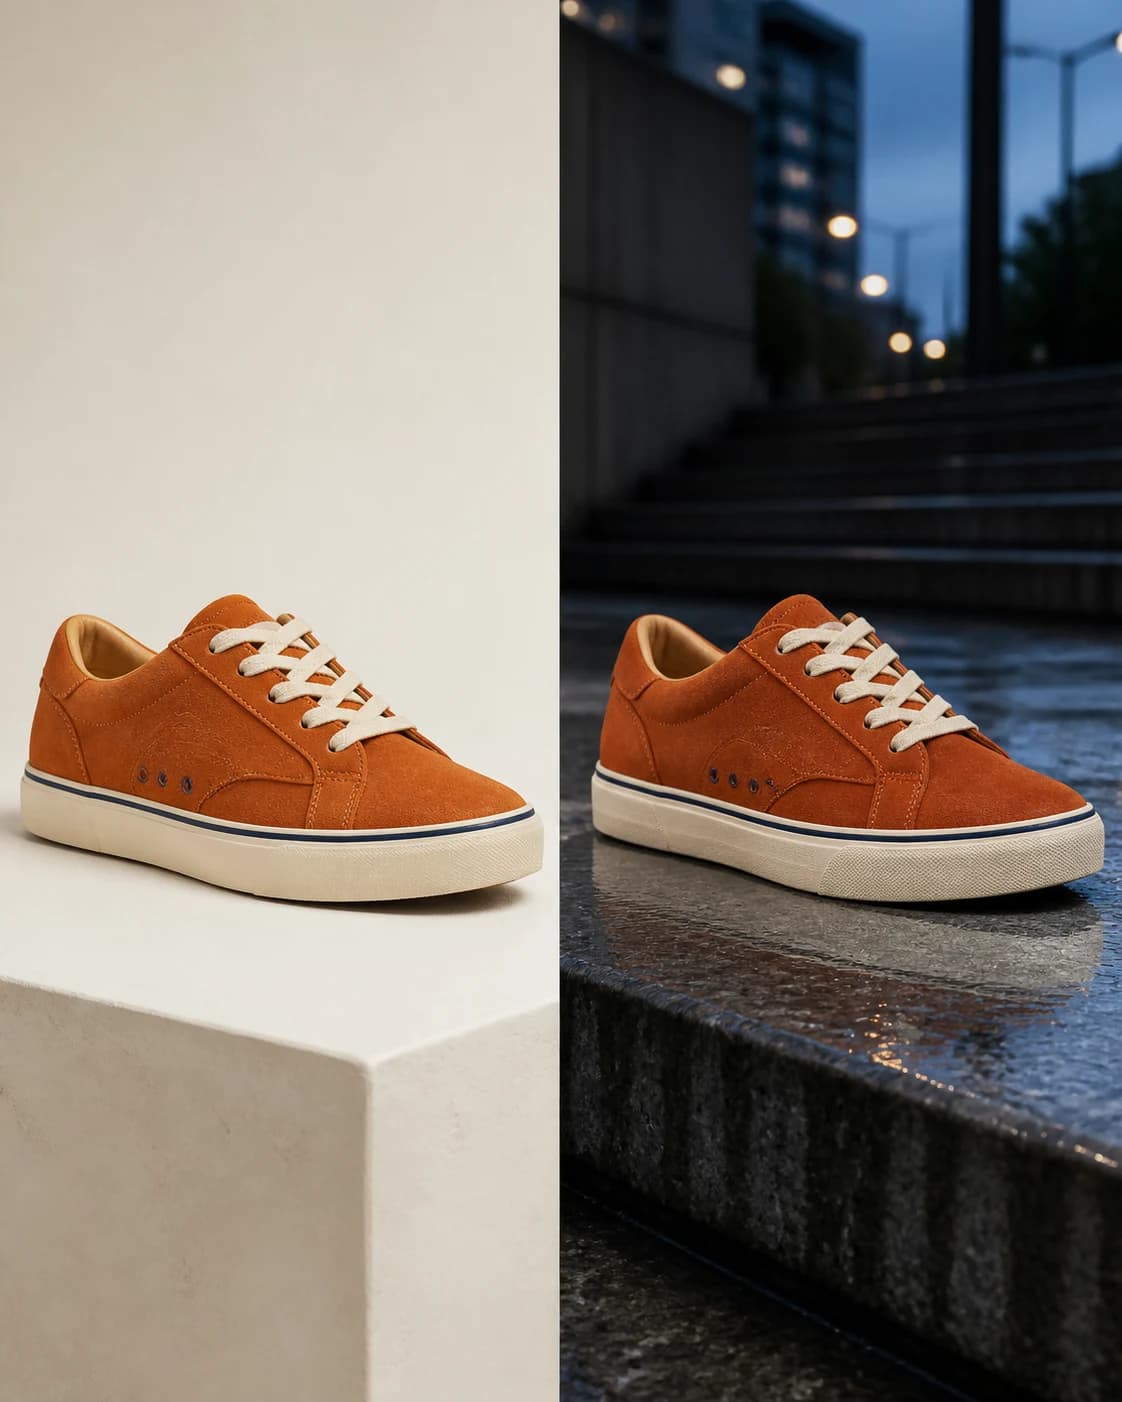
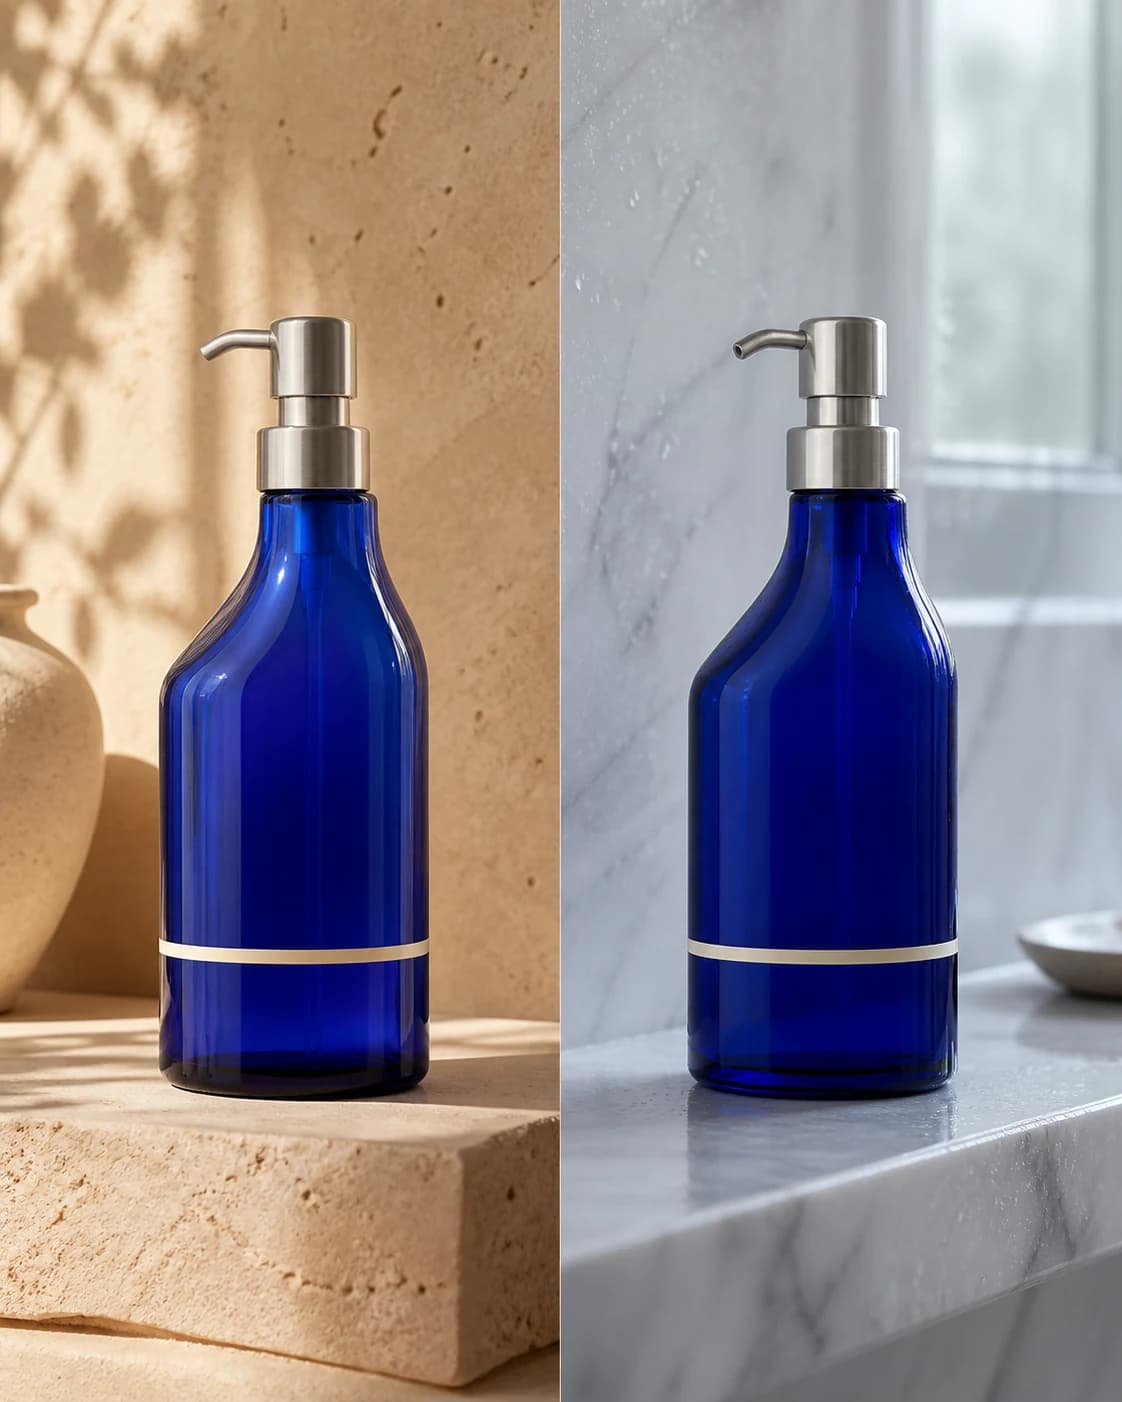

Change the setting, not the product
Add an approved product reference, define the details that cannot drift, and use the AI product background remover workflow to build a new scene around the same recognizable SKU.