Object consistency
AI Product Photography With the Same Product in Every Scene
Use AI product photography to turn one approved packshot into studio, lifestyle, seasonal, and social images without asking the model to redesign the product along the way.
01
A beautiful scene is useless when the SKU changes
Generic AI product photography can preserve the mood while quietly altering the item. A bottle becomes taller, a pump gains a new collar, a shoe loses an eyelet, or a matte surface turns glossy. Those are not harmless variations. They can misrepresent a product, weaken brand recognition, and leave a content team with images that cannot be published.
02
Separate the fixed product from the creative scene
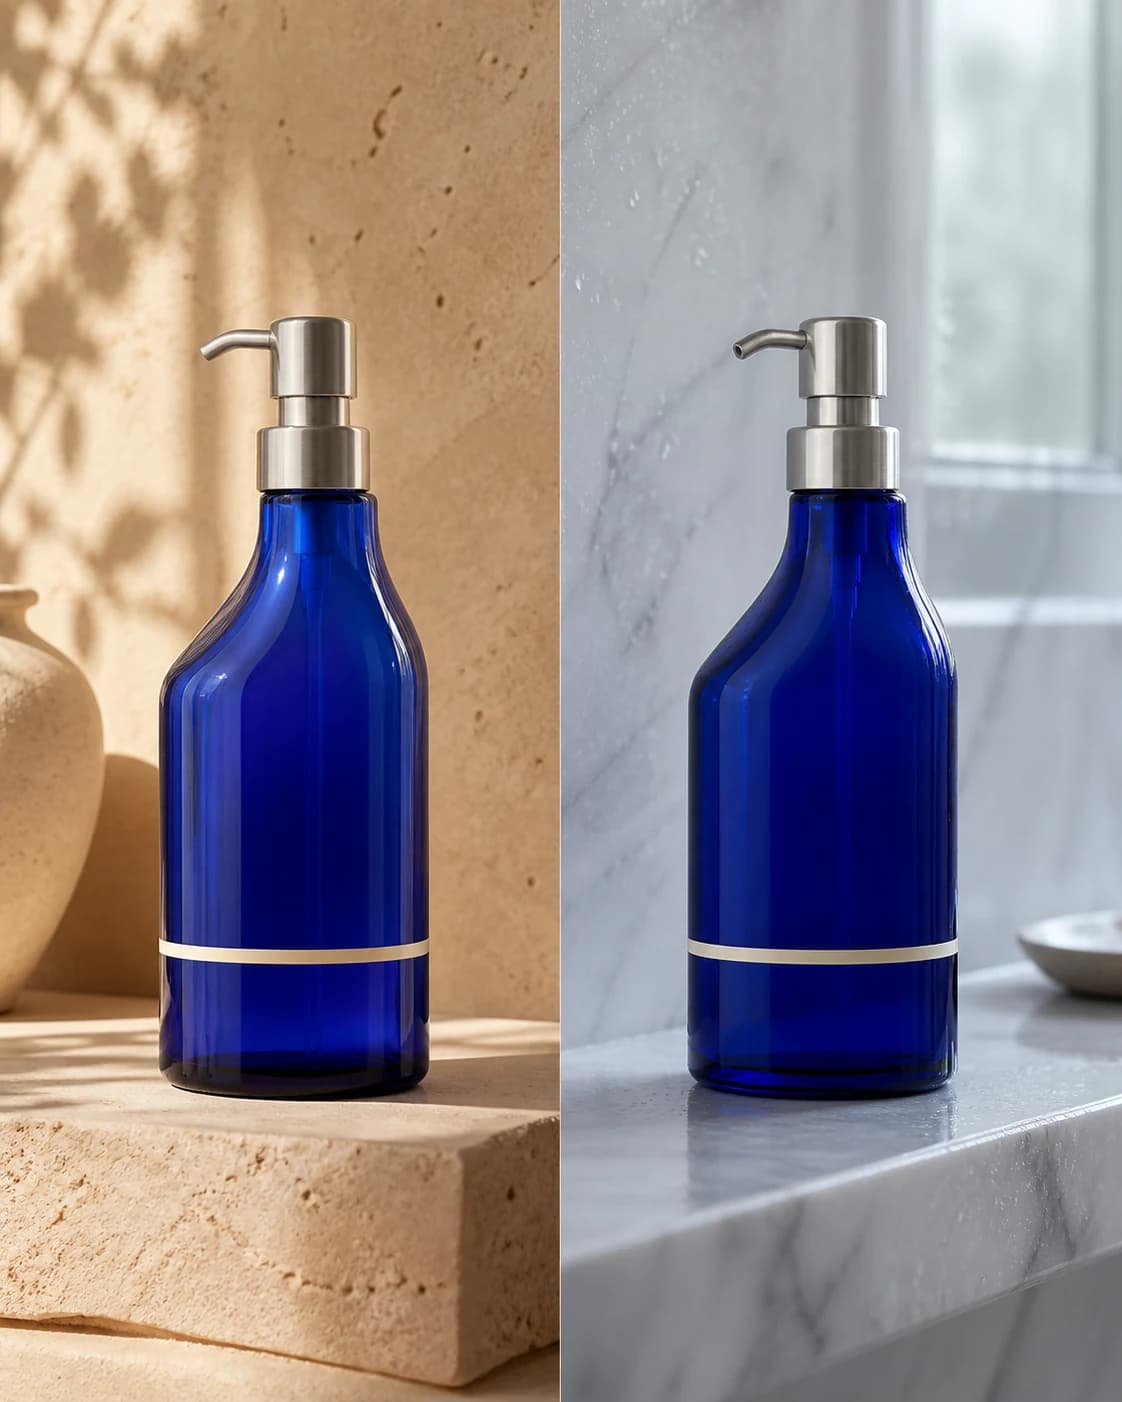
CharaSync lets you save an object as a named reference and call it into each generation. The reference carries the product evidence; the prompt describes the environment, camera, light, and composition. This gives AI product photography a clear boundary: the scene can change, but the SKU should not be reinvented.
What to lock
Define product identity before art direction
- 01
Silhouette and proportions
Lock the overall height-to-width ratio, curves, corners, cap size, sole profile, handle position, and other structural cues. Review the outer contour first; it reveals product drift faster than color or styling does.
- 02
Color and material behavior
Name the exact color family and the material response: translucent glass, brushed metal, matte plastic, suede, polished ceramic, or soft fabric. Lighting may change the appearance, but it should not change what the product is made from.
- 03
Construction and graphics
List non-negotiable details such as seams, eyelets, buttons, pump bands, closures, panels, logos, and label placement. Small construction errors are often the first sign that an image depicts a different product.
- 04
Perspective and physical contact
A product must sit convincingly in its new environment. Check base contact, cast-shadow direction, reflections, scale, lens perspective, and whether hands or props intersect the object correctly.
A focused workflow
From reference to repeatable output
- 01
Save a clean product reference
Begin with a sharp, well-lit packshot at a useful angle. Avoid strong filters, cropped edges, hands covering key parts, or a background that blends into the silhouette. If one view hides important construction, add up to three supporting reference images.
- 02
Name the details that must survive
Give the object a simple reference name, then state the fixed details in plain language. For example: keep the cobalt bottle, rounded shoulders, silver pump collar, matte finish, and exact proportions. Put the new scene instructions after those constraints.
- 03
Generate one controlled variation
Change one major variable first, such as the background or lighting. A small test makes comparison easier. Once the product passes review, reuse the approved reference and prompt structure for new camera angles, props, crops, and channel formats.
- 04
Review before expanding the set
Compare the result beside the source at the same size. Reject altered geometry, missing components, false text, incorrect materials, impossible reflections, and inconsistent scale. Approved images can become additional references for the next round.
Production guide
A repeatable AI product photography workflow
Build a compact reference set
One strong three-quarter view is often the best starting point because it shows the front, side, and depth. Add a front view when packaging graphics matter, a side view when thickness matters, and a detail view when closures or textures define the SKU. More references are not automatically better; every image should add reliable evidence.
Write fixed and flexible instructions separately
Start the prompt with what cannot change, then describe what may change. Fixed: product identity, proportions, components, color, and material. Flexible: background, props, lighting, camera height, crop, and mood. This order makes the brief easier for both the model and the person reviewing the result.
Move from safe scenes to difficult scenes
Begin AI product photography with a clean studio setting. Continue with a surface, a styled interior, and then a scene with reflections, water, motion, or hands. A gradual sequence reveals where consistency begins to fail and gives you a dependable approved image at each stage.
Use a rejection checklist, not a feeling
A polished image can still be wrong. Check silhouette, component count, openings, seams, label location, dominant color, finish, scale, contact shadow, and perspective. For regulated packaging, exact ingredient text, legal copy, barcodes, and tiny logos should be composited from the original artwork after generation rather than trusted to generative text rendering.
Plan a shot family before generating
Define the minimum set the campaign needs: a clean hero, one useful detail, one lifestyle context, and the required channel crops. Give every shot a purpose and keep the fixed product brief identical. This prevents AI product photography from becoming a folder of attractive experiments with no coherent sequence. It also makes differences intentional: the hero explains the item, the detail proves material quality, and the lifestyle frame shows use without turning the product into a different model.
Keep light changes physically plausible
The same finish behaves differently under soft daylight, a hard spotlight, or colored ambient light, but its optical properties should remain believable. In AI product photography, compare highlight width, edge reflections, translucency, roughness, and shadow density against the reference material. Ask for a lighting change without asking for a new finish. This distinction matters most for glass, chrome, satin plastic, lacquer, leather, and fabric, where a stylish reflection can easily disguise a material error.
What stays consistent
Protect the details audiences remember
One SKU across many channels
Create a coordinated set for product pages, marketplaces, ads, launch posts, and seasonal campaigns while preserving the product customers expect to receive.
Faster creative reviews
Give designers and marketers concrete consistency criteria. Teams can identify a wrong product immediately instead of debating whether a result merely feels off.
A reusable object library
Keep approved product references under clear names so the next campaign starts from verified visual evidence instead of rebuilding the item from a long text prompt.
Before you create
Frequently asked questions
What is the best source image for AI product photography?
Use a high-resolution, evenly lit image with the complete silhouette visible. A three-quarter packshot is a strong default. Add front, side, or detail views only when they reveal important geometry, packaging, or material information that the first image does not show.
Will labels, logos, and small text remain exact?
Treat generative text as a draft, especially on curved packaging or at small sizes. CharaSync can preserve the broader product identity, placement, and visual hierarchy, but exact legal copy, barcodes, and critical logos should be checked and composited from approved artwork when perfect fidelity is required.
How many product references can I use?
You can use up to four reference images in one generation. Start with one clean source and add only the views that clarify hidden sides, construction details, or surface behavior. Conflicting angles, colors, or old packaging versions can reduce consistency.
Can I create the same product on different backgrounds?
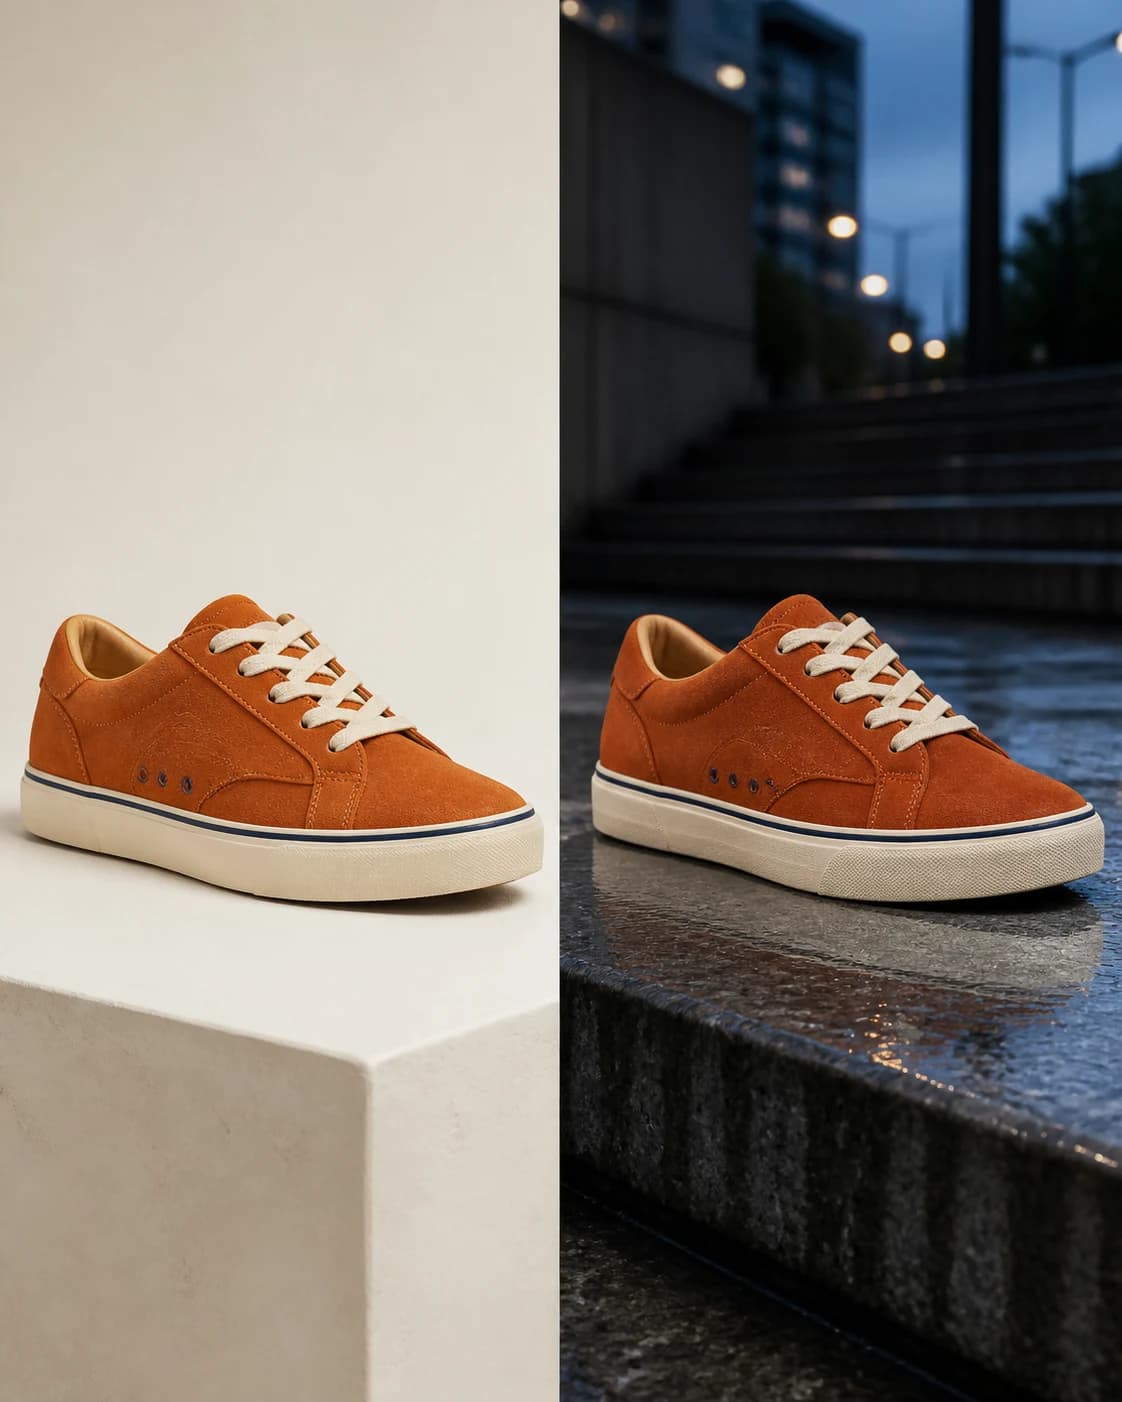
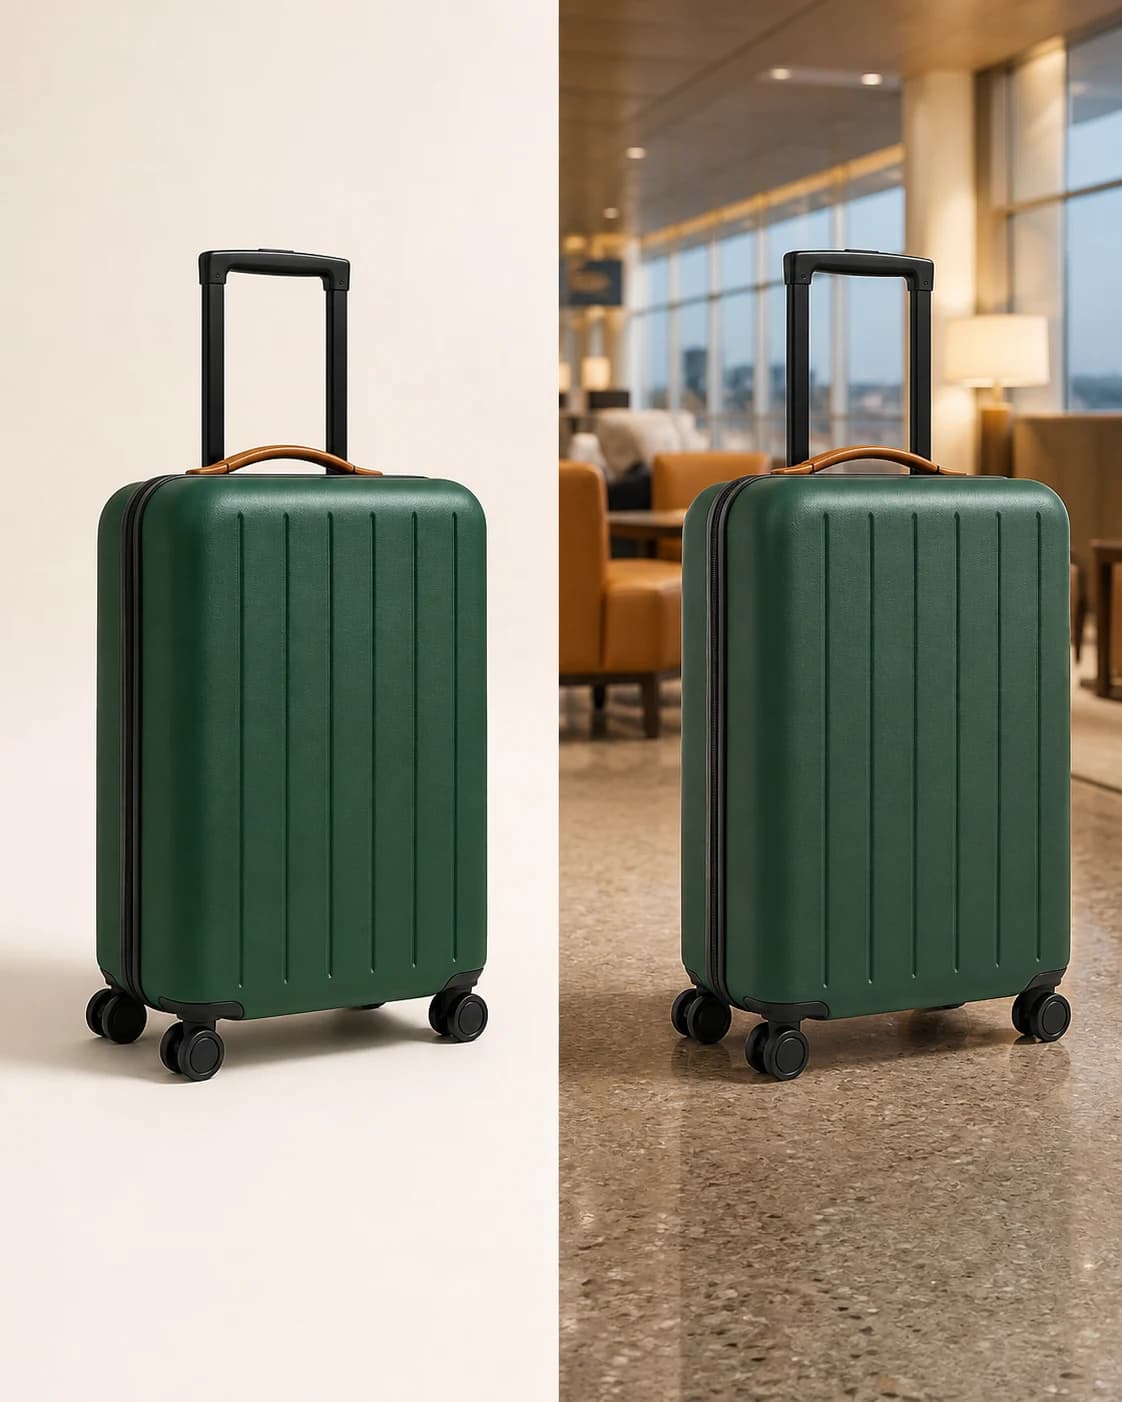
Yes. Keep the named object reference and fixed product description unchanged, then vary the background, props, light, and composition. Review each output against the source before using it as the next reference.
How should I organize an AI product photography campaign?
Approve one neutral hero first, then create detail, lifestyle, and campaign scenes from the same named reference. Keep a shared fixed-detail brief and record which outputs passed review. That gives AI product photography a stable visual baseline across formats.
Keep the product fixed while the campaign changes
Save one verified object reference and describe the next setting. Use AI product photography to keep the same SKU recognizable from the neutral hero to the final campaign crop.