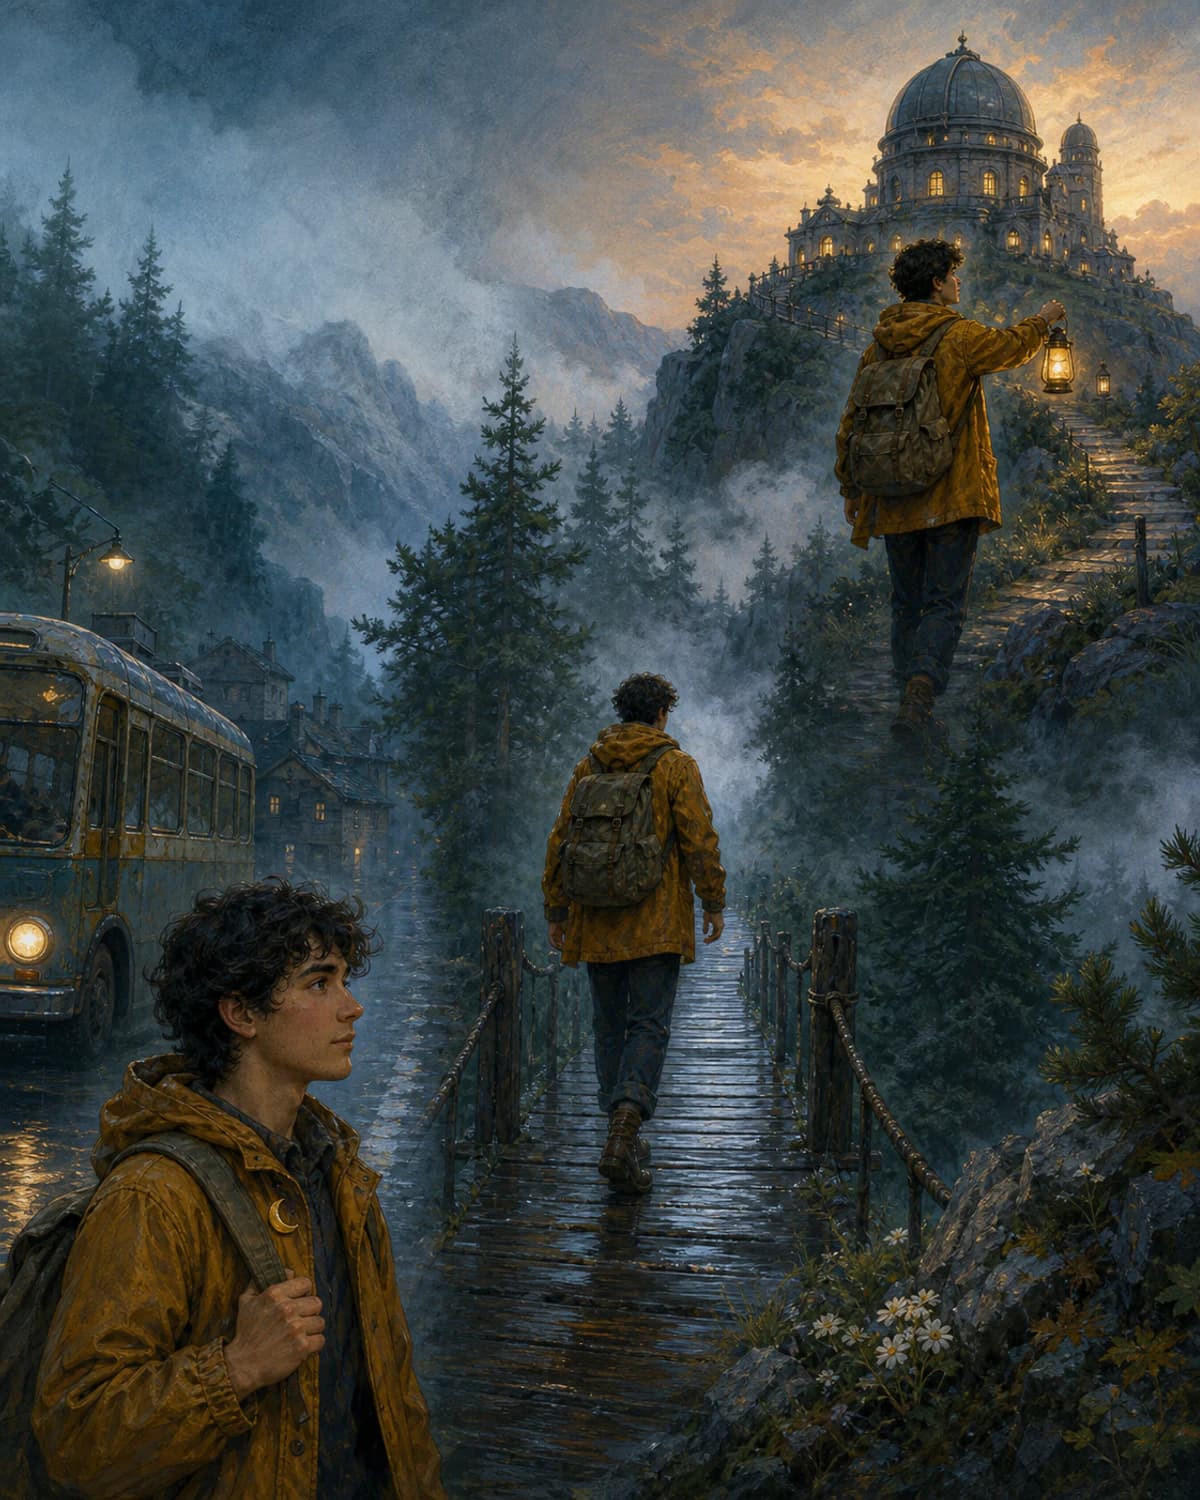
Story continuity
Create Story with Constant Characters, Scene After Scene
To create story with constant characters, separate what belongs to the character from what changes in each scene. Build a small visual bible, generate from a shot list, and approve continuity before the sequence grows.
01
A sequence exposes every small character change
A single illustration can hide a slightly different jaw or coat. Place six images in order and the change becomes a continuity error: a scar moves sides, a backpack changes shape, the child grows older, or a supporting character disappears. Readers compare adjacent frames without trying, so identity drift interrupts the story before they process the plot.
People often expect one prompt to produce a finished book with a stable cast. CharaSync does not write a complete narrative or replace editorial planning. It helps turn an existing script, outline, or shot list into visual scenes that can reuse named character references.
02
Treat the story as a continuity system
Define a master reference for each recurring character, then create a short visual bible: fixed facial cues, silhouette, base wardrobe, scale relationships, and any story-critical object. Separate those constants from scene variables such as location, weather, expression, action, camera distance, and temporary costume changes.
Generate in planned groups rather than random prompt order. Establish the ordinary world, test the hardest angle or interaction, then build neighboring shots from the same approved references. This is how to create story with constant characters without letting the latest attractive image redesign the cast.
Continuity planning
What you need to create story with constant characters
- 01
A one-page visual bible
Keep the approved portrait, profile or three-quarter view, full-body silhouette, base outfit, color palette, height notes, and signature prop together. One page forces decisions. A folder of fifty near-duplicates makes it harder to tell which version is canonical.
- 02
A shot list with continuity columns
For every scene, record location, time, camera distance, action, emotion, wardrobe state, visible props, and which characters appear. Mark what changed because of the plot. This catches accidental changes before generation and makes a rejected image easier to diagnose.
- 03
Anchor scenes before bridge scenes
Choose the images that define a chapter: the first clear introduction, the central action, and the emotional close. Approve those at useful angles, then create transitional shots. Strong anchors stop minor bridge scenes from pulling the design in a new direction.
- 04
A deliberate continuity review
Inspect the whole sequence as thumbnails, then check important frames at full size. Thumbnail view reveals silhouette and color jumps; full size reveals face, hands, props, and costume details. Both views matter because readers experience the page rhythm and the individual illustration.
A focused workflow
From reference to repeatable output
- 01
Lock the cast and world rules
Approve each recurring character, key size relationships, base wardrobe, signature props, and the visual treatment. Record them in one compact reference page.
- 02
Turn the script into visual assignments
Break the story into shots and list who appears, what changed, the emotional beat, framing, location, and continuity details that must carry from the previous scene.
- 03
Generate, sequence, and approve
Use named references for each shot, place results in reading order, reject identity changes early, and add only useful new angles to the reference set.
Sequence production
How to create story with constant characters without freezing the story
Write constants and variables separately
Begin each shot from the named character reference, then describe the new beat. For example: “Use @Nia, same short curls, amber raincoat, canvas backpack. She steps from the last bus into a foggy mountain village, wide establishing shot, early morning.” The first sentence protects continuity; the second advances the story.
Do not freeze expression, posture, and lighting in the name of consistency. Those elements should respond to the scene. The aim is the same actor performing a new moment, not a pasted portrait wearing different backgrounds.
Track costume and prop state through time
Stories contain intentional change. A clean coat becomes muddy, a letter moves from sealed to opened, or a lantern breaks. Add these states to the shot list and keep the transition directional. If scene seven shows the torn sleeve, scene eight should not restore it unless the script explains why.
Use the canonical reference for identity and the most recent approved state image only when it clearly adds plot information. Never let a damaged costume image replace the master character by accident.
Use close, medium, and wide shots on purpose
Close-ups carry facial emotion but reveal small identity errors. Wide shots establish place but give the face fewer pixels. Medium shots often provide the best balance for interaction. Plan a rhythm across the sequence instead of generating every frame at the same portrait distance.
When a wide shot weakens the face, preserve silhouette, hair, wardrobe color, and scale, then follow it with a closer shot. The pair can communicate identity more reliably than demanding every cue from one distant figure.
Review pages, not isolated favorites
Lay every scene in reading order and remove any image that breaks character identity, geography, direction of movement, time of day, wardrobe state, or prop continuity. A beautiful frame can still be wrong for the sequence. Replace it instead of bending the surrounding story to justify it.
This sequence review is the practical core of the workflow. The best single image is less important than a believable visual progression in which change happens for a story reason.
What stays consistent
Protect the details audiences remember
Characters readers recognize immediately
Faces, silhouettes, color cues, scale, and signature details remain stable enough that the audience can follow the action without re-identifying the cast.
Scene changes that serve the plot
Location, weather, camera, expression, costume state, and props change on purpose instead of drifting because the previous prompt was forgotten.
A sequence that stays editable
Shot records and canonical references let you replace one weak frame without rebuilding every scene around a new character version. Editors can trace why a costume changed, which master guided the image, and what the next frame must carry forward across later revisions, even when production pauses or another collaborator takes over.
Before you create
Frequently asked questions
Can CharaSync write my complete story?
No. Bring an existing script, outline, storyboard, or shot list. CharaSync helps create reference-guided images and videos for those planned scenes; narrative structure, dialogue, pacing, and final editorial decisions remain with you.
How many character references should a story use?
Keep one canonical master per recurring person, with a second angle only when it adds reliable information. CharaSync supports up to four references per generation, but each shot should include only the cast and evidence it needs.
Should I generate the story in chronological order?
Not always. Approve anchor scenes and difficult views early, then fill neighboring shots. Still place every result into chronological reading order during review so costume, props, geography, light, and character state remain coherent.
What is the fastest way to create story with constant characters?
Spend the first pass on a compact visual bible and shot list. It may feel slower than immediate generation, but it reduces identity drift, contradictory costume states, and late-stage regeneration across an entire sequence.
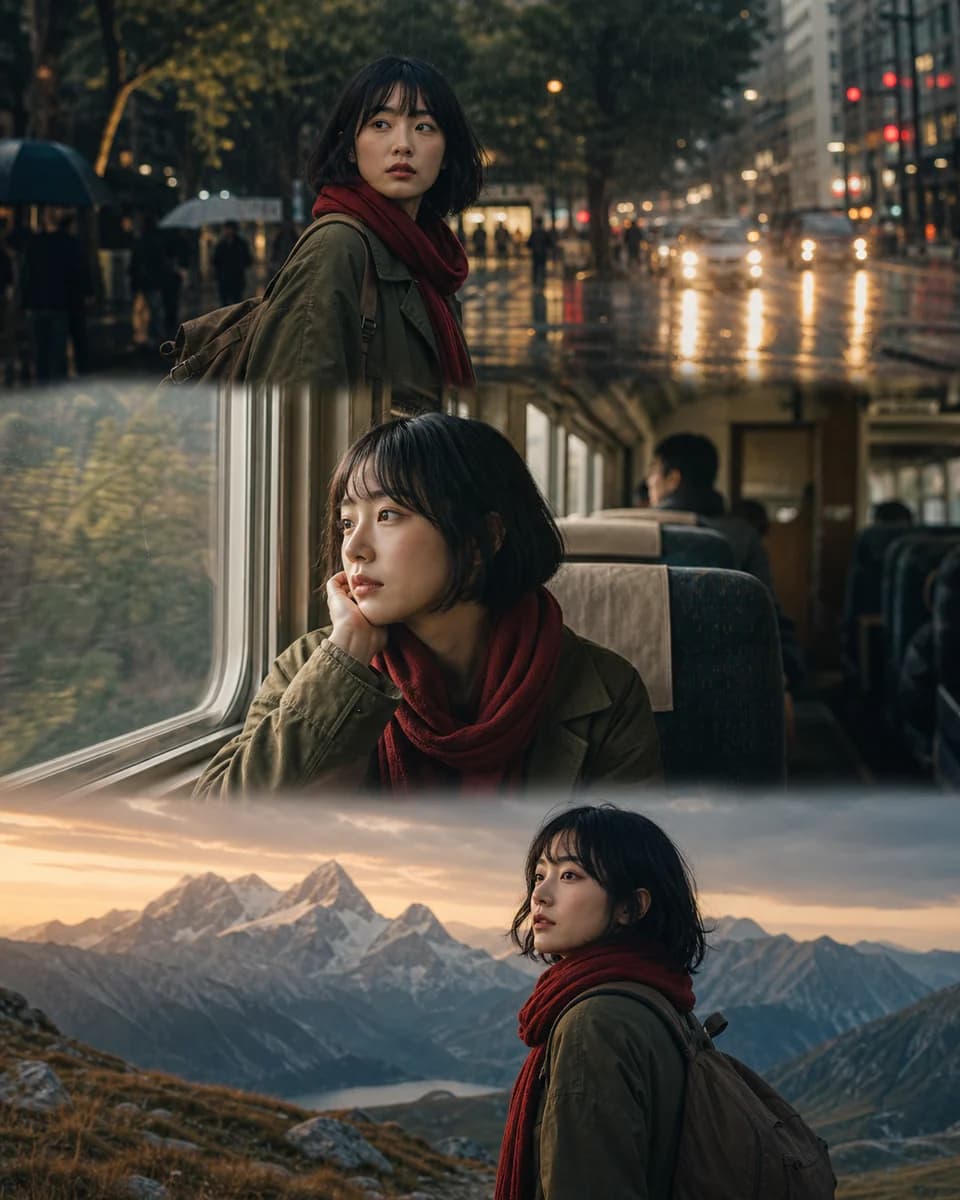

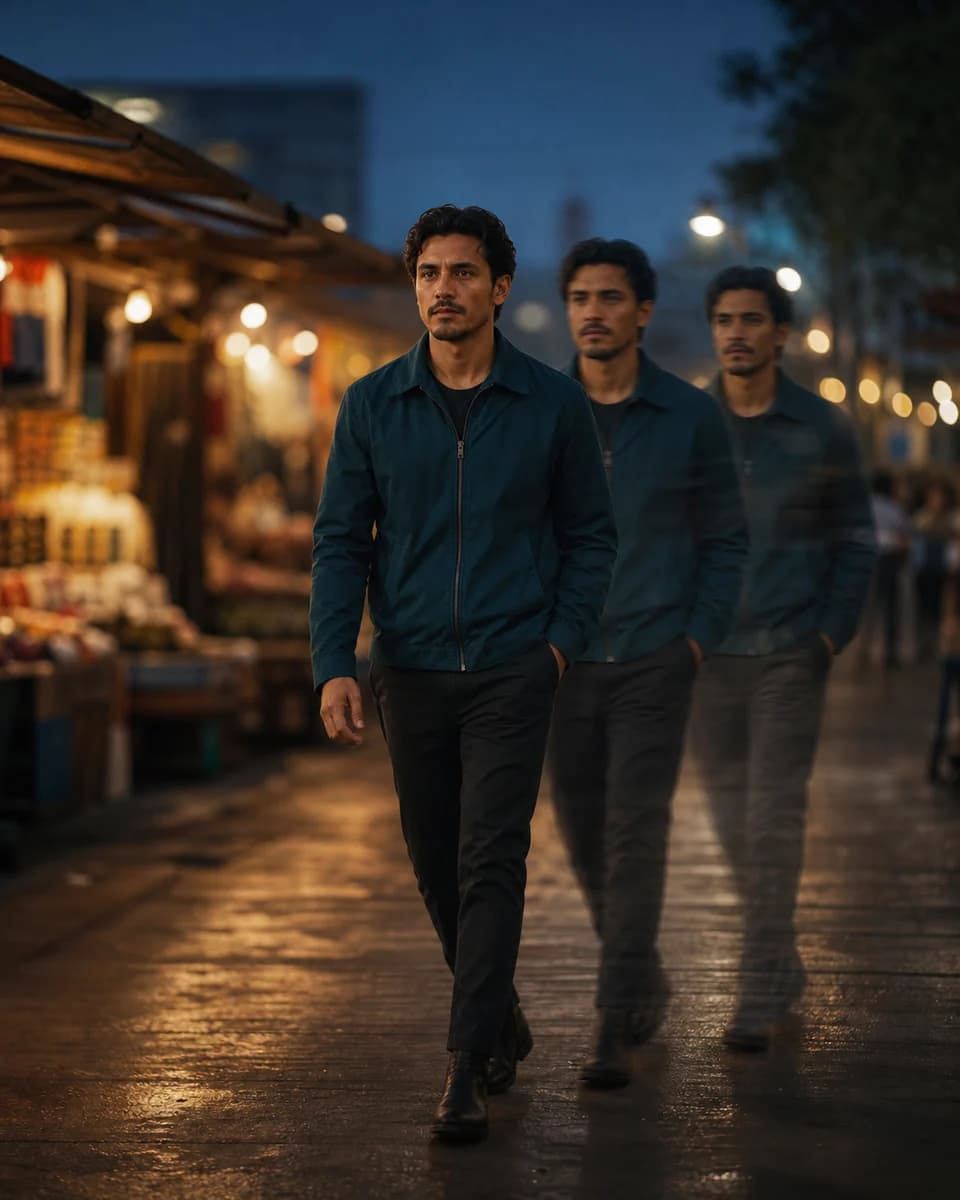
Turn your shot list into a connected visual sequence
Use canonical references and planned scene changes to create story with constant characters that remain recognizable from opening frame to final beat.